With current lockdown restrictions, most of us have greatly reduced the amount of car journeys we make. With the supermarket and the workplace just about the only places to travel, many of you may feel less inclined to keep your cars interior clean and tidy. After all, the less time you spend in your car, the less incentive you have to take care of it! However, there’s never been a more ideal time to give your car’s interior some TLC.
Not only are we all stuck at home, searching for new activities to keep us occupied, but there’s also more reason than ever to keep your environment safe and sanitary. In this guide we will show you how clean your car’s interior from top to bottom so that it not only looks fantastic but is hygienically clean too!
You’ll Need
• All Purpose Disinfectant Spray/wipes
• Upholstery cleaner (for upholstered seats)
• Leather cleaning wipes (for leather seats and upholstery)
• All purpose cleaner
• White vinegar
• Spray bottle
• Cotton cleaning cloth
• Microfibre cloth
• Vacuum cleaner
• Paper towel
• Carpet brush
• Carpet and upholstery cleaner (optional)
Step One: Take Everything Out
Before you can really deep clean your car you will need to remove everything. This includes anything in the door pockets, glove box, centre console and any other nook or cranny where small articles may be lurking. Yes, even the loose change you keep for parking metres, take that out too! You’ll also want to remove anything from your boot.
Step Two: Clean Car Mats
Your car mats will most likely be one of the grimiest things inside your vehicle, and while in general, when cleaning, it’s usually the dirtiest items left while last, we like to clean our mats first. The reason for this is twofold: number one, the mats are removed from the car before cleaning so there will be no cross-dirt contamination, and two we recommend you clean the mats with either a carpet cleaner or a scrubbing brush and soapy water which will mean they need time to dry.
The best way to clean a fabric car mat is to use the rotary brush attachment on your vacuum cleaner. If your vacuum does not have a rotary attachment, a standard nozzle attachment will do the trick however it will take a little more elbow grease.
If you are dealing with a rubber car mat, your job will be a lot easier! All you’ll need is a diluted soap and water solution and a plastic bristle scrubbing brush. And old dish brush will be fine! If you want to be extra meticulous, you can use an old toothbrush to get between any grooves or indents. Once you’ve scrubbed, just give it a rinse, wait to dry and you’re done!
Step Two: Dust Interior
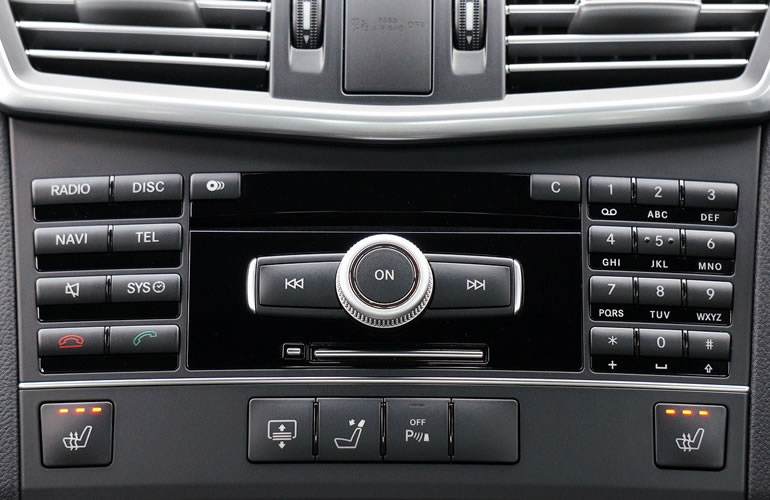
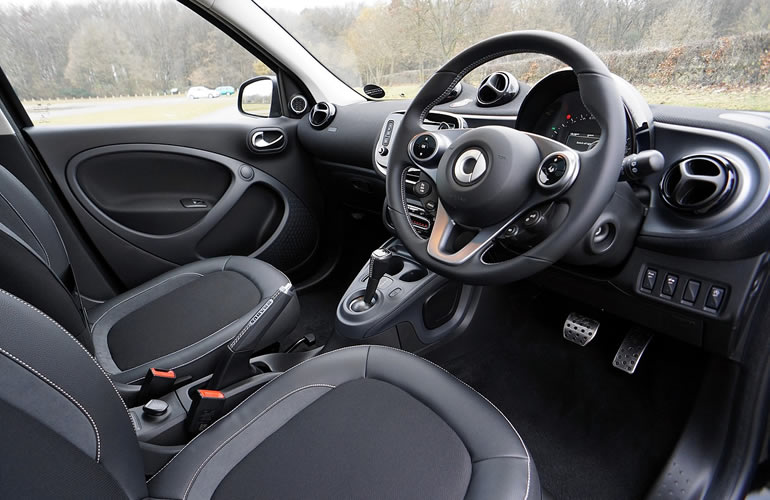
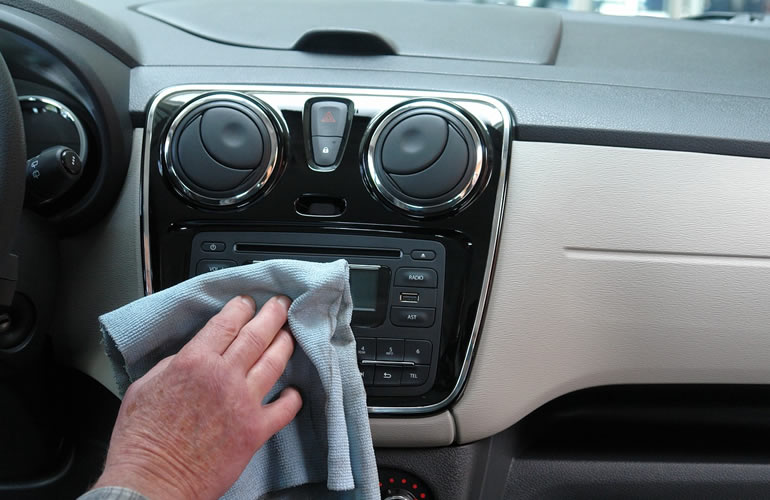
Use a dry microfiber cloth to remove the dust. Start with your dash and move onto the control panel behind your steering wheel, then onto your centre console and cup holders. If your cup holders are filled with unidentifiable sticky substances then this is where the all purpose cleaner comes in! Spray the cleaner onto a damp cloth and work away the goo before drying with a clean paper towel.
Step Four: Vacuum
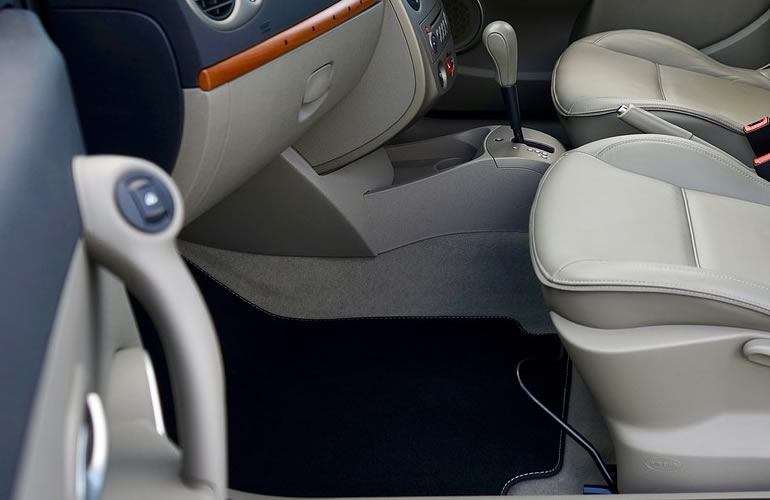
Vacuuming your car is one o the few times when all the vacuum attachments come in handy. The upholstery head attachment is ideal for cleaning seats while the rotary brush head is perfect for vacuuming your footwells. Start by using the nozzle head attachment to vacuum inside small spaces such as the gap between the centre console and the seats, behind the foot pedals and the crevices of the footwells. Then, use the upholstery attachment to remove trapped dust and dirt from your car seats and upholstery. For leather car seats use the nozzle attachment to clean in grooves then a leather cleaning wipe to remove surface dirt.
Once you’ve vacuumed and cleaned your cars seats, use the rotary brush attachment to clean the footwells. If your vacuum doesn’t have a rotary attachment and you don’t want to invest in one then the nozzle or brush attachment will do.
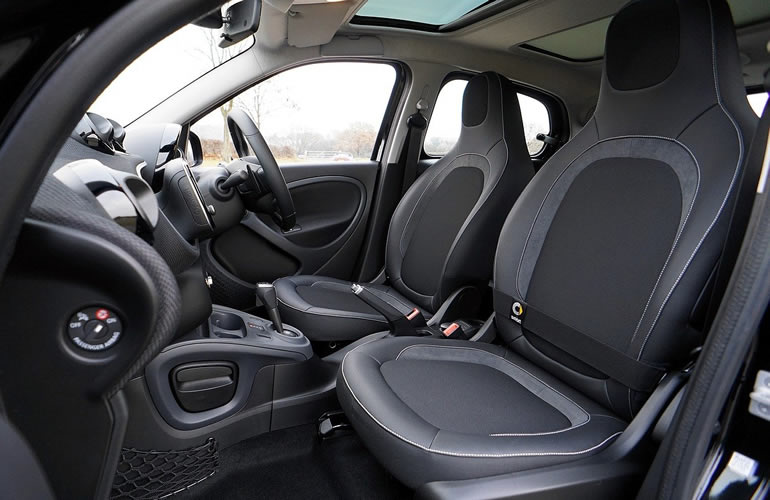
Step Five: Clean Upholstery
If you have upholstered seats in your car then chances are they have at least a few stains and marks on them. Use an carpet and upholstery cleaner to spot clean any visible marks first, then all over your seats to remove trapped in dirt. Once dry, finish with a fabric disinfectant spray.
Step Six: Clean Hard Surfaces
Use your all purpose cleaner and a damp cloth to wipe away dirt from hard surfaces. Work from the top down starting with the casing on your rear view mirror (this part tends to get covered in finger prints). Wipe the grab handles and the headrest adjusters. Be sure to wring your cloth out in hot as you move from one surface to another and spray/pour more all purpose cleaner onto your cloth.
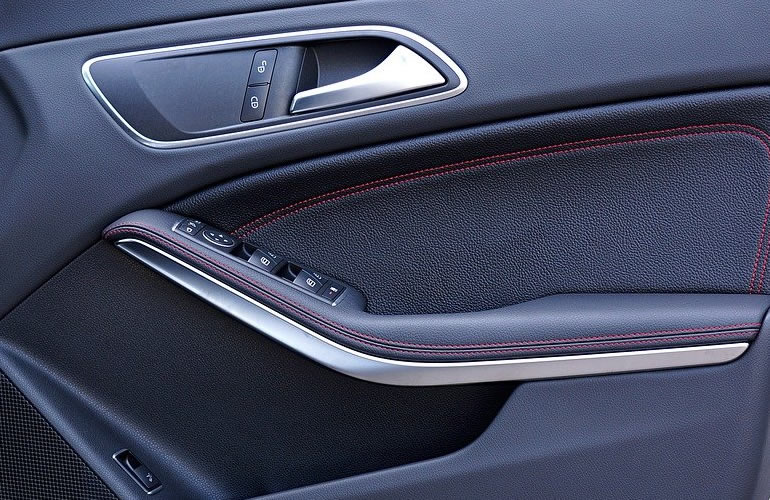
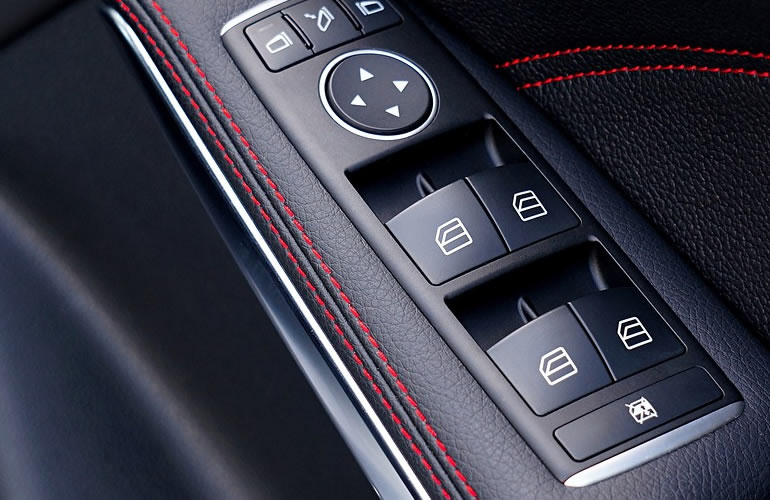
Working down your car, wipe the dash, centre console, glove box and column cover, followed by the console, handbrake and gear stick. If you have a leather steering wheel, be sure to use a leather-suitable cleaner, otherwise the all purpose spray should be fine. Pay special attention to the stalks behind your steering wheel as these can get really grimy over time! Don’t forget your door handles and grab handles, window controls and seat adjuster buttons/mechanisms. Finally, finish off with a surface-suitable disinfectant spray or wipe on all surfaces you have just cleaned to kill bacteria and viruses.
Lastly, wipe down the door panels. These can be one of the dirtiest surfaces inside your car and are often covered in shoe scuff marks and mud.

Step Seven: Clean Door Pockets
Door pockets are often neglected and can get really dirty over time. Vacuum your door pockets first using the nozzle attachment on your vacuum. Follow up with your all purpose cleaner and a damp cloth to clean inside the door pocket, and finally, a disinfectant spray.
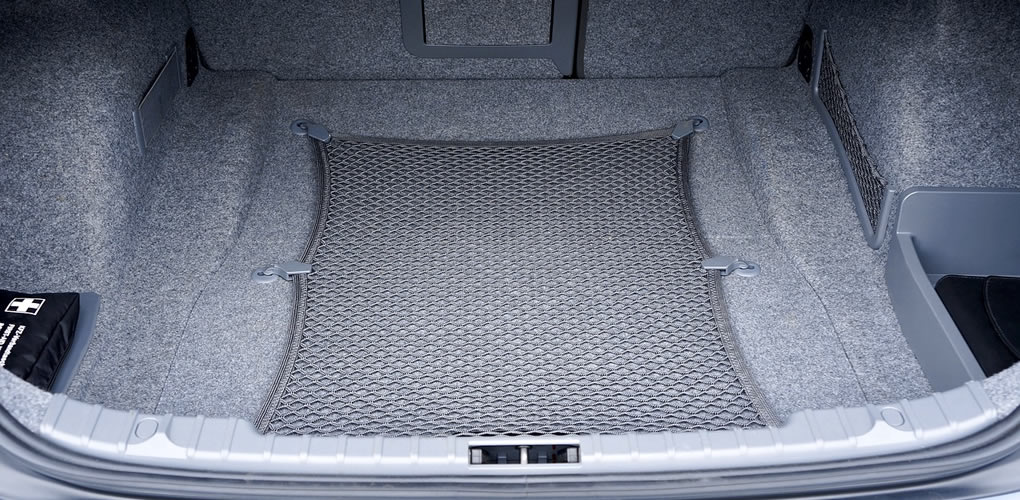
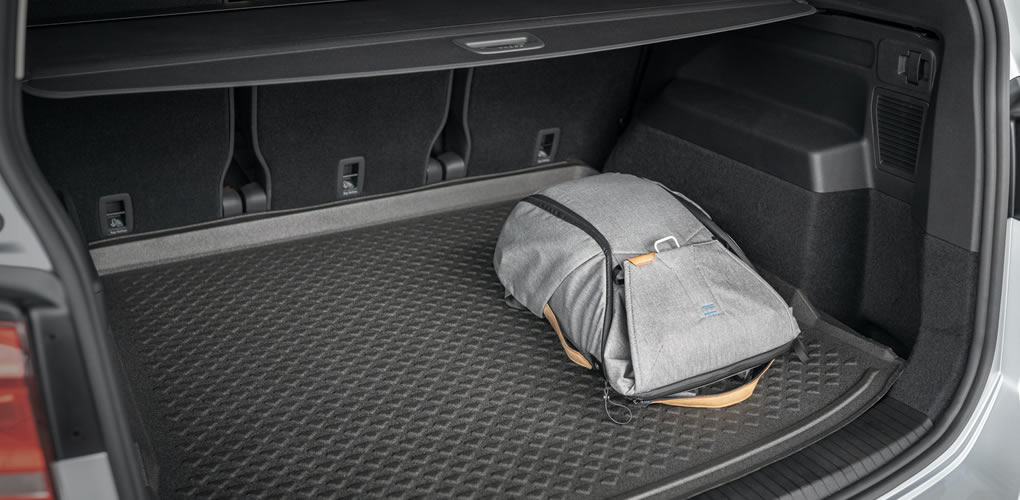
Step Eight: Clean the Boot
Your cars boot is put through a lot on the daily, from muddy pets to spilled grocery bags and everything in-between, so it may need a little more elbow grease than the rest of your car. Start by vacuuming your boot using the nozzle and rotary brush attachments on your vacuum. If you don’t feel like you’re seeing quick progresses then don’t give up! If your boot is very dirty it will take a lot more vacuuming than other parts of your car might have. Once you have removed as much loose dirt as possible take an upholstery cleaner to clean the backs of your rear headrests and the base and walls of the boot.
After cleaning it is a good idea to invest in a boot liner to prevent dirt build up and keep your boot clean. Boot organisers are also really helpful in keeping your boot tidy. They can also help to prevent spills and messes.
Step Nine: Clean Interior Windows & Glass
Your deep car clean wouldn’t be complete without spotlessly clean glass! Use white vinegar in a spray bottle and a microfiber cloth to leave your windows streak free and gleaming! Spray the vinegar onto the cloth (not directly onto the windows) and wipe until the glass looks clear.
Step 10: Inspect and Spot clean
Before you place the car mats and other articles back into your car, give it a once over and look for any dirt you may have missed when cleaning. A cotton bud is a really helpful tool in removing dirt from hard to reach and small places such as around any buttons or between air vents.
You’re finally done! Your car should now be spotless!
For more tips information on care and maintenance, visit our
articles page.
For useful information on
diesel injectors and
diesel pumps visit our
useful info page.
To buy reconditioned diesel injectors and diesel pumps visit our
home page.
.jpg)


 Call:
Call: